A greenhouse also allows you to get a head start on spring planting and to extend the growing season well into the autumn.

The problem is that traditional greenhouses are quite expensive and typically too large for the average backyard. Fortunately, there are two do-it-yourself options: buy a ready-to-assemble greenhouse kit or purchase plans and build the greenhouse from scratch.
There are a lot of things to consider before choosing the greenhouse that’s right for you. Such as:
Local Ordinances
Check with your town’s building department to make sure you’re even allowed to build a greenhouse on your property.

Greenhouses are typically considered outbuildings, so you’ll have to apply for a building permit.
And if you live in a community with a homeowner’s association (HOA), you’ll have to get approval from the HOA.
Which might be difficult because many housing communities have a strict no-outbuildings covenant.
Orientation to the Sun
Since the object of a greenhouse is to provide a warm, sunny spot for your plants, it’s important that it be situated properly in your yard.

Optimal greenhouse orientation is facing south or southeast to capture the early-morning sun.
An east-facing orientation works well in most climates, too.
Try to pick a location that receives at least six hours of uninterrupted sun per day.
If you live in a region that receives significant snowfall, be sure the snow-load rating of the greenhouse can support a blanket of snow without collapsing.
To Glaze Or Not To Glaze
Glass is the most traditional glazing material for greenhouses.
But glass is heavy, fragile and expensive, so most DIY greenhouses are glazed with polycarbonate, acrylic, fiberglass, or polyethylene sheeting.
Panels of polycarbonate, acrylic, and fiberglass are resilient, good insulators and have excellent light transmission, although fiberglass can discolor over time. Polyethylene sheeting is very affordable and easy to install, but it’s not very tough and can be easily punctured and damaged.
Frame Materials
A majority of greenhouse frames are made of wood or metal. Wood is less expensive, easier to work with and suitable for small- to medium-size greenhouses. Metal is stronger and more weather resistant than wood, but it’s costlier. Aluminum is a good choice because it’s lightweight, corrosion-resistant, and strong.
Floor Materials

The floor of a greenhouse can be made of any number of materials, including gravel, wood decking, flagstone, metal grates, poured concrete, or just bare dirt.
Keep in mind, however, that a dirt floor is only practical if your yard stays bone-dry, otherwise it’ll become a muddy quagmire.
Concrete is extremely durable, but it’s relatively expensive to pour and it doesn’t drain well. A gravel floor is inexpensive, drains well, and can easily be refurbished by simply adding more gravel.
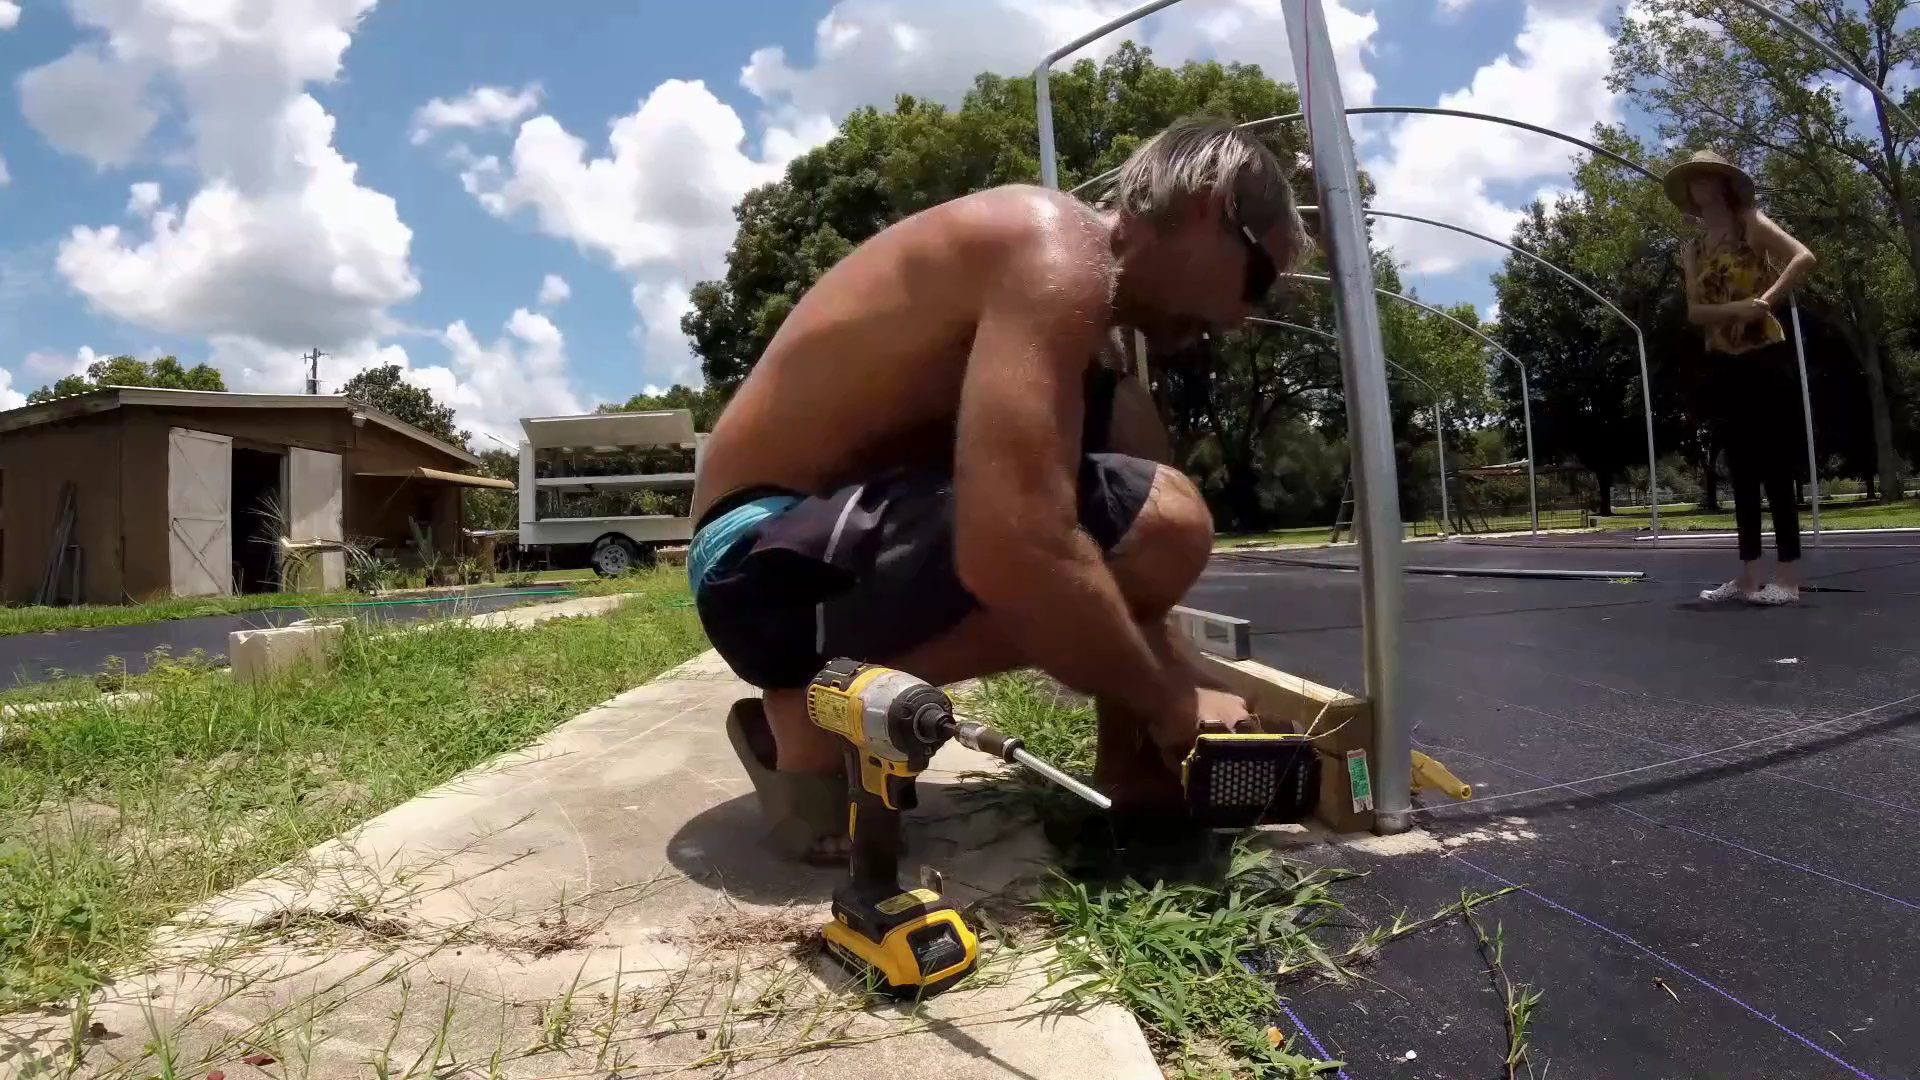
Watch Us Build Our Greenhouse
Temperature Regulation

Being able to regulate the temperature inside the greenhouse is critical because it can get stiflingly hot in summer or bitterly cold in winter.
To expel hot air, use operable windows, rooftop vents or exhaust fans. And use shade cloths to block out solar heat gain.
When the weather turns cold, maintain a warm greenhouse by installing an electric heater that’s equipped with a thermostatically controlled fan.

In moderate climates, passive solar systems can help chase away the cold. Fill barrels with water or stack concrete blocks inside the greenhouse; they’ll absorb the sun’s energy during the day and then release it as heat at night.
Greenhouses come in different sizes, from simple cold frames to full-size glass structures. Depending on the actual make and model you purchase, your greenhouse may include electricity, heat, benches, shelves, and lighting.

Each amenity gives you more ways to make use of your greenhouse.
For example, having lighting means you can visit your greenhouse after dark and work on cuttings, planting seeds, and performing other gardening tasks.
Having a heating system, in addition to solar heat, means you can grow almost anything year-round.
Think about all the things you want to do with your greenhouse, and that will help you choose a model that suits your needs.
Heating and Ventilation
The ideal temperature inside the greenhouse is about 80 to 85 degrees Fahrenheit, so the first and most important lesson is learning how to keep the internal temperature steady.
Greenhouses mainly harness the sun’s rays to heat the interior air, although some may also have supplemental heat sources powered by gas or electric heaters. Just like a car, the building’s interior can quickly heat up to over 100 degrees Fahrenheit on a warm, sunny day. It will be important to regulate the temperature or you risk stressing and perhaps even killing your plants.
Withdrawal Resistance
Withdrawal resistance, building orientation, exposure; and environment are important.

In fact, your greenhouse can act like a sail and pull the structure right from the ground if not secured and braced properly.
For example, an 80 mph gust of wind can produce a pressure of 16 pounds per square foot (psf) on your structure.
That means a 28’ by 100’ hoop house withstanding these winds would be exposed to 220 pounds per square of length – or 22,000 psf on the entire structure.
Watch Us Add Shadecloth To The Greenhouse
5 TIPS FOR WIND LOADING
• Close up all openings, including vents, louvers, and the doors. Whatever outside force is applied to the high tunnel is doubled when allowed inside the building. In essence, the wind entering the structure will attempt to force the walls and roof outwards and upwards.

• Research the typical wind patterns on your property. The building orientation can reduce the friction and pressure on your tunnel when setting up correctly. You want your tunnel to provide the least resistance possible.
• For air-inflated greenhouses, increase the pressure on the inside to reduce the rippling effect of the poly. Double down and make sure any slits or openings are taped with film repair tape.
• Use windbreaks to reduce the wind speed or deflect wind over the greenhouse. Typical windbreaks are conifer trees such as hemlock, spruce, or pine at least 50’ upwind from the greenhouse – far enough that falling limbs will not come into contact with the structure. Wood or plastic fencing can also be used as a buffer.
• If you have a metal chimney, stovepipe, or any exterior ventilation susceptible to high winds, secure them with sheet metal screws.
Snow Loading

Snow can be light and fluffy. It can also be wet, heavy, and destructive. For example, just 1 inch of rain is often equivalent to over 10 inches of snow.
For anyone that has shoveled after a snow storm, 10 inches of snow, especially the heavy, wet stuff is no small task to clear away. Without being removed, that weight is being applied directly to your greenhouse.
5 TIPS FOR SNOW LOADING
• Leave at least 10 to 12 feet between individual greenhouses so that snow can accumulate. This will also prevent sidewalls from being crushed in as pressure builds from added snowfall over the winter.
• If you have a heating system, it should be equipped to maintain a temperature of 60 degrees Fahrenheit to melt snow and ice and preventing excessive build-up. Make sure the heat is turned on at least a couple hours before the storm begins.
• Pull energy screens aside to allow heat to get to the glazing and melt snow and ice.
• Make sure you have diagonal bracing to keep the greenhouse from racking from the weight of snow and ice. If you don’t already have this installed, consider retrofitting your structure. It will add years to your investment.
• Keep the following three items on hand:

- Durable lumber to brace your structure and complete temporary repairs.
- Brooms to help push snow off of poly structures without damaging the cladding.
- Backup poly for temporary repairs and to ensure heat is retained to protect crops.
A little preparation can go a long way to minimize damage from severe weather events such as blizzards, windstorms, and ice storms. First, make sure that your environmental controls are working properly to heat snow and ice from the inside. And just as important, have a well-stocked generator in the case you lose power.
Other Important Hints

- Add pea gravel over landscape fabric for the floor. (Spray water on rocks in summer to help keep greenhouse cooler.)
- Oscillating fans are great year-round but especially important in winter to prevent cold spots and disease.
- Use gutters to fill rain barrels
- Shade cloth is essential in summer if the greenhouse is situated in full sun. (Vegetables love full sun, but southern full sun in a greenhouse will cook plants.) There are many different weaves for the desired amount of shade.
- Propagation mats with thermostat help with successful germination also do not have to depend on the heater as much in winter.
- To prevent pests and disease in the greenhouse, DO NOT overwinter plants that have been outside or are already sickly.
- Water seeds/seedlings from the bottom to prevent damping off.
- Ants love greenhouses, therefore it is recommended to provide a perimeter treatment at first sign of ants.
- Do not use yellow sticky traps for greenhouse gnats. Prevent gnats by not overwatering. (Traps not only gnats but spiders, ladybugs and an occasional wren.)
- Use a wireless temperature transmitter to keep track of highs and low. Make sure it has an alarm to alert someone that the temperature has gone below the desired temperature if you live in harsh environments.
- For seed starting, make sure to use sterile germinating medium, clean/disinfected trays and pots. (1 part bleach to 9 parts water is sufficient.)
- Learn what whiteflies and their eggs look like. They are very hard to get rid of if they become established in the greenhouse. Click to go to our page called “The Perfect Solution” to get a wonderful recipe to try.
- Common beneficial insects will come to your greenhouse. Learn what their eggs and larva look like so they are not killed. (ladybugs and green lacewings especially)
- Check seeds/seedlings several times/day. Make sure the greenhouse is not too hot or too cold, seedlings not too dry or too wet.
- When cold, use warm water to water as very cold water will shock the seedlings and slow growth.
- Use diluted fertilizer to feed seedlings. Full strength will “burn” roots.
- Most importantly, have fun and smile with the joy of growing plants.
Leave a Reply